Instructions for paper model
We’re thrilled that you’ve picked up our model and are seeking some guidance to make it!
There are several different ways to put it together. If you’d like some help, please scroll down for written and video instructions.
Instructions
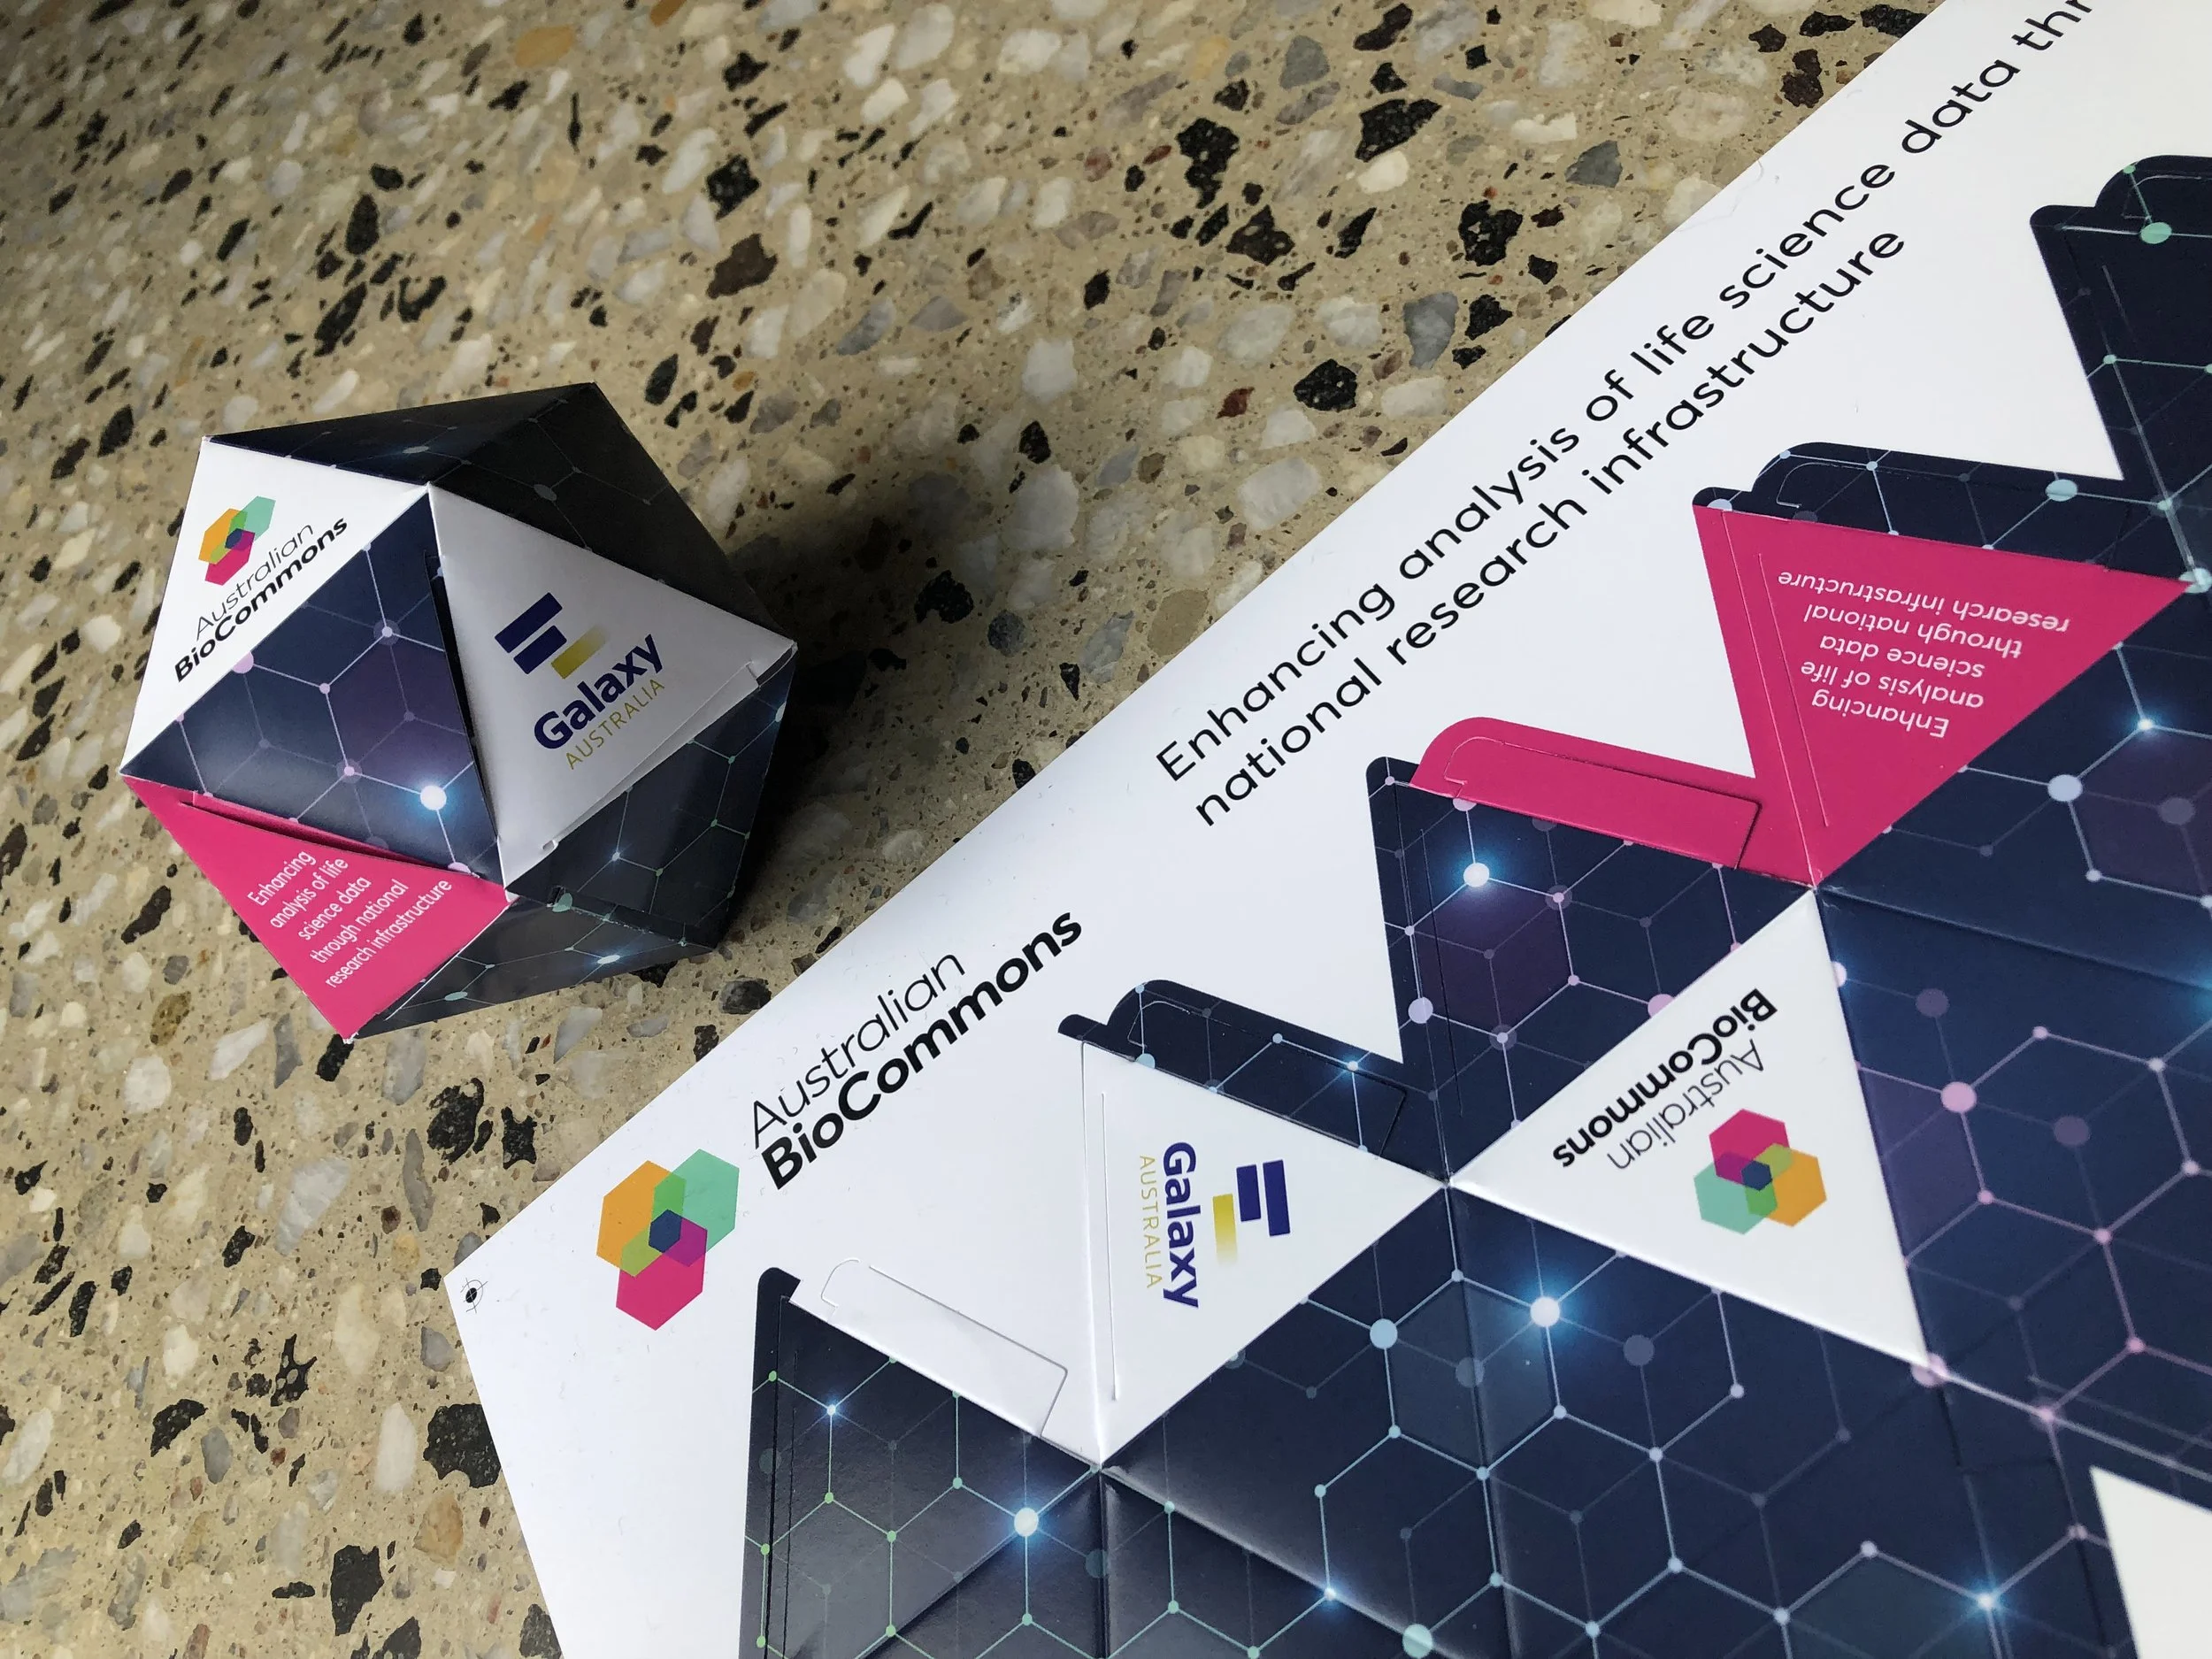
Carefully pop out the model from the paper and crease all the folds. This will help later, particularly with inserting the tabs
Place the model down so that you are looking at the coloured side and the tabs across the top row are pointing to the left
Starting from either end, insert the right-hand tab into the left-hand triangle and repeat this process along the row until you form a five-sided pyramid
Fold in the white double-ended tab to secure the middle of the model
Repeat step 3 with the remaining tabbed triangles
Tip: make sure the triangles are positioned on the outside of the model before inserting the tabs to make it easier to get your fingers in the right positionCongratulate yourself on a job well done and take a moment to browse our website for more information on how we are enhancing analysis of life science data through national research infrastructure
Video instructions for completing the paper model